So here we are folks diving headfirst into the world of glazing. Whether you're a seasoned artist a DIY enthusiast or just someone who’s curious about how do you use glaze this article’s got you covered. Glazing is more than just slapping some shiny stuff on your project it's about creating depth texture and that wow factor. Trust me once you get the hang of it you’ll be hooked. Let's dive in and make your creative journey a little smoother.
Glazing might sound intimidating at first but it's actually one of those techniques that anyone can pick up with a little practice. Think about it like adding layers of magic to your work. It’s not just about the final look it’s about the process and how each layer builds upon the last. If you’ve ever wondered how professionals achieve that polished look this is your chance to learn the secrets.
Now before we get into the nitty-gritty let’s talk about why glazing matters. Whether you're working on pottery furniture or even digital art glazing adds a level of sophistication that’s hard to achieve otherwise. It’s not just about aesthetics it’s about transforming your work into something truly unique. So buckle up because we’re about to demystify the world of glazing.
- Unique Motorcycle Names For Female Riders Thatrsquoll Make You Stand Out
- Rap Song Captions Level Up Your Social Media Game
What Exactly is Glazing and Why Should You Care?
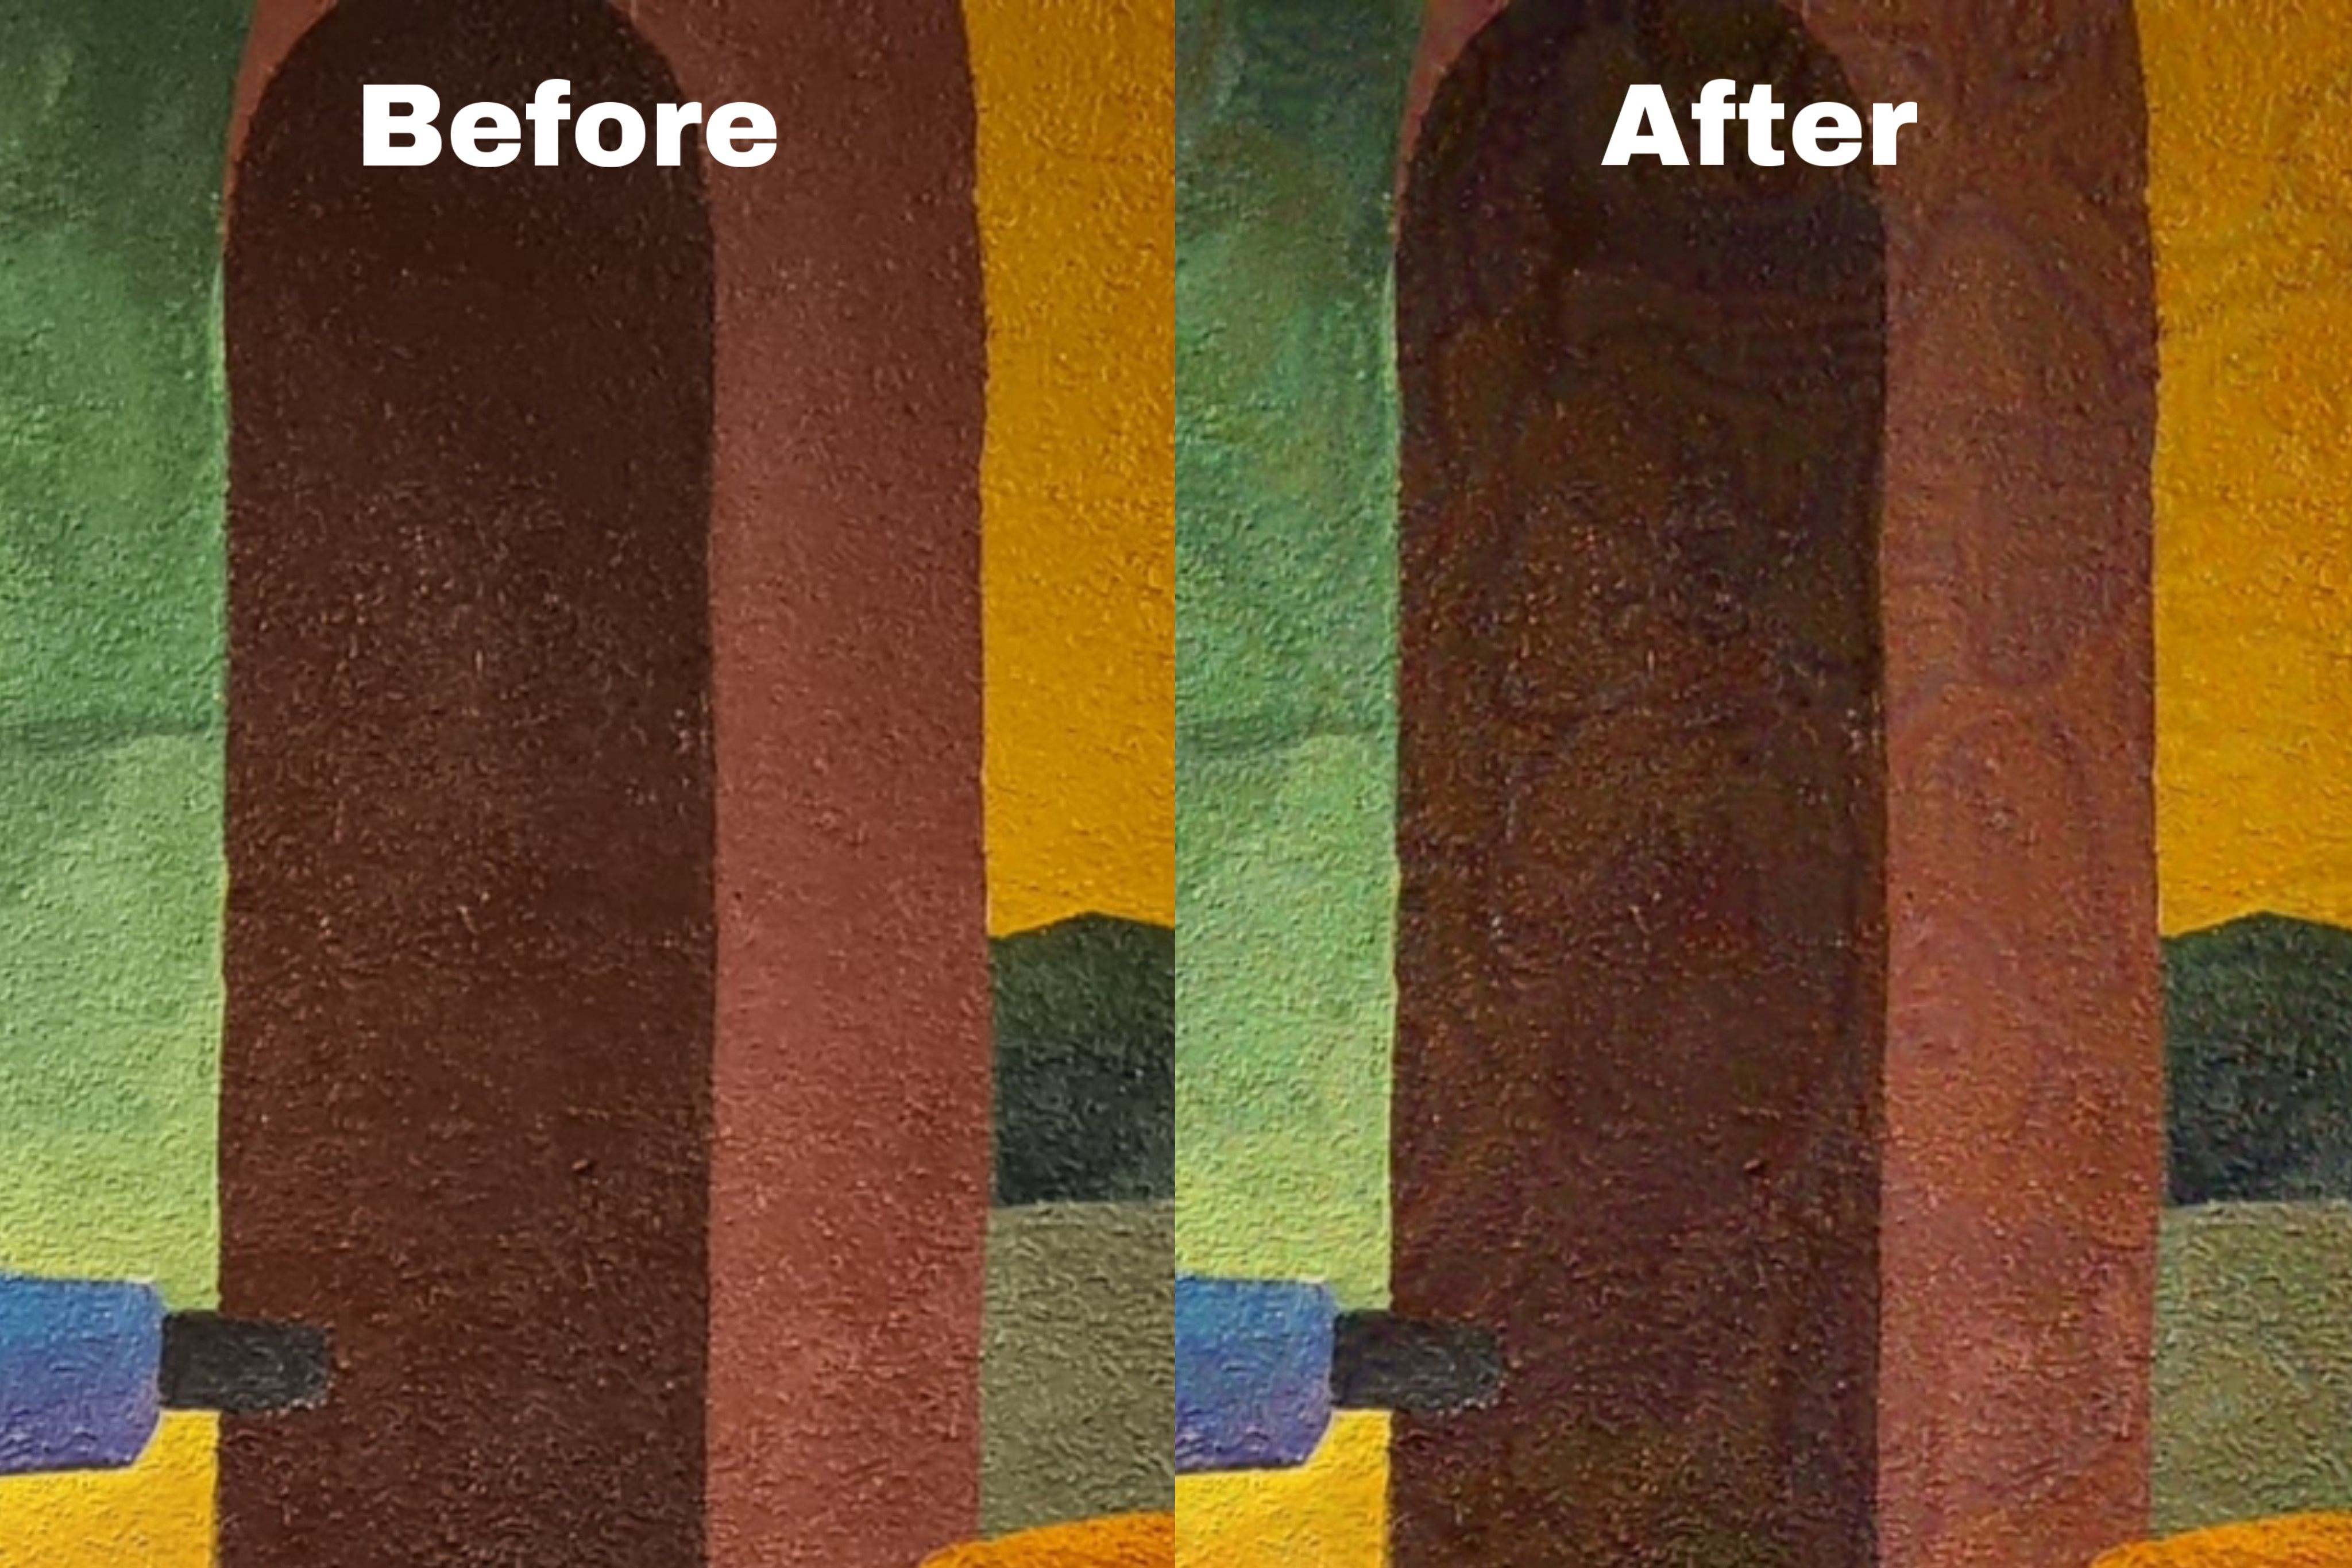
Alright let’s break it down. Glazing is essentially the process of applying a transparent or semi-transparent layer over a surface to enhance its appearance. This could be on ceramics wood walls you name it. The beauty of glazing lies in its versatility. It can add color depth and even protection to your projects. If you're asking yourself how do you use glaze the first step is understanding what it is and what it can do for you.
Think about glazing as the cherry on top of your artistic sundae. It’s that extra touch that takes your work from good to great. Whether you're aiming for a glossy finish a weathered look or something in between glazing gives you the tools to make it happen. Plus it’s not as complicated as it sounds once you get the hang of it.
Types of Glazes: Not All Glazes Are Created Equal
Now let’s talk about the different types of glazes out there. There’s ceramic glaze which is perfect for pottery and ceramics. Then you’ve got wood glaze which is ideal for furniture and wood projects. Don’t forget about wall glazes which are great for adding texture to your interior spaces. Each type serves a different purpose so it’s important to choose the right one for your project.
- Pastors Wife Appreciation Celebrating The Unsung Hero Of The Church
- Boyfriend Good Morning Prayer For Him Start His Day With Love And Faith
- Ceramic Glaze: Perfect for pottery and ceramics
- Wood Glaze: Ideal for furniture and wood projects
- Wall Glaze: Great for adding texture to interior spaces
When you’re figuring out how do you use glaze the type of material you’re working with will dictate which glaze is best. For example ceramic glazes are designed to withstand high temperatures while wood glazes are formulated to protect and enhance the natural beauty of wood.
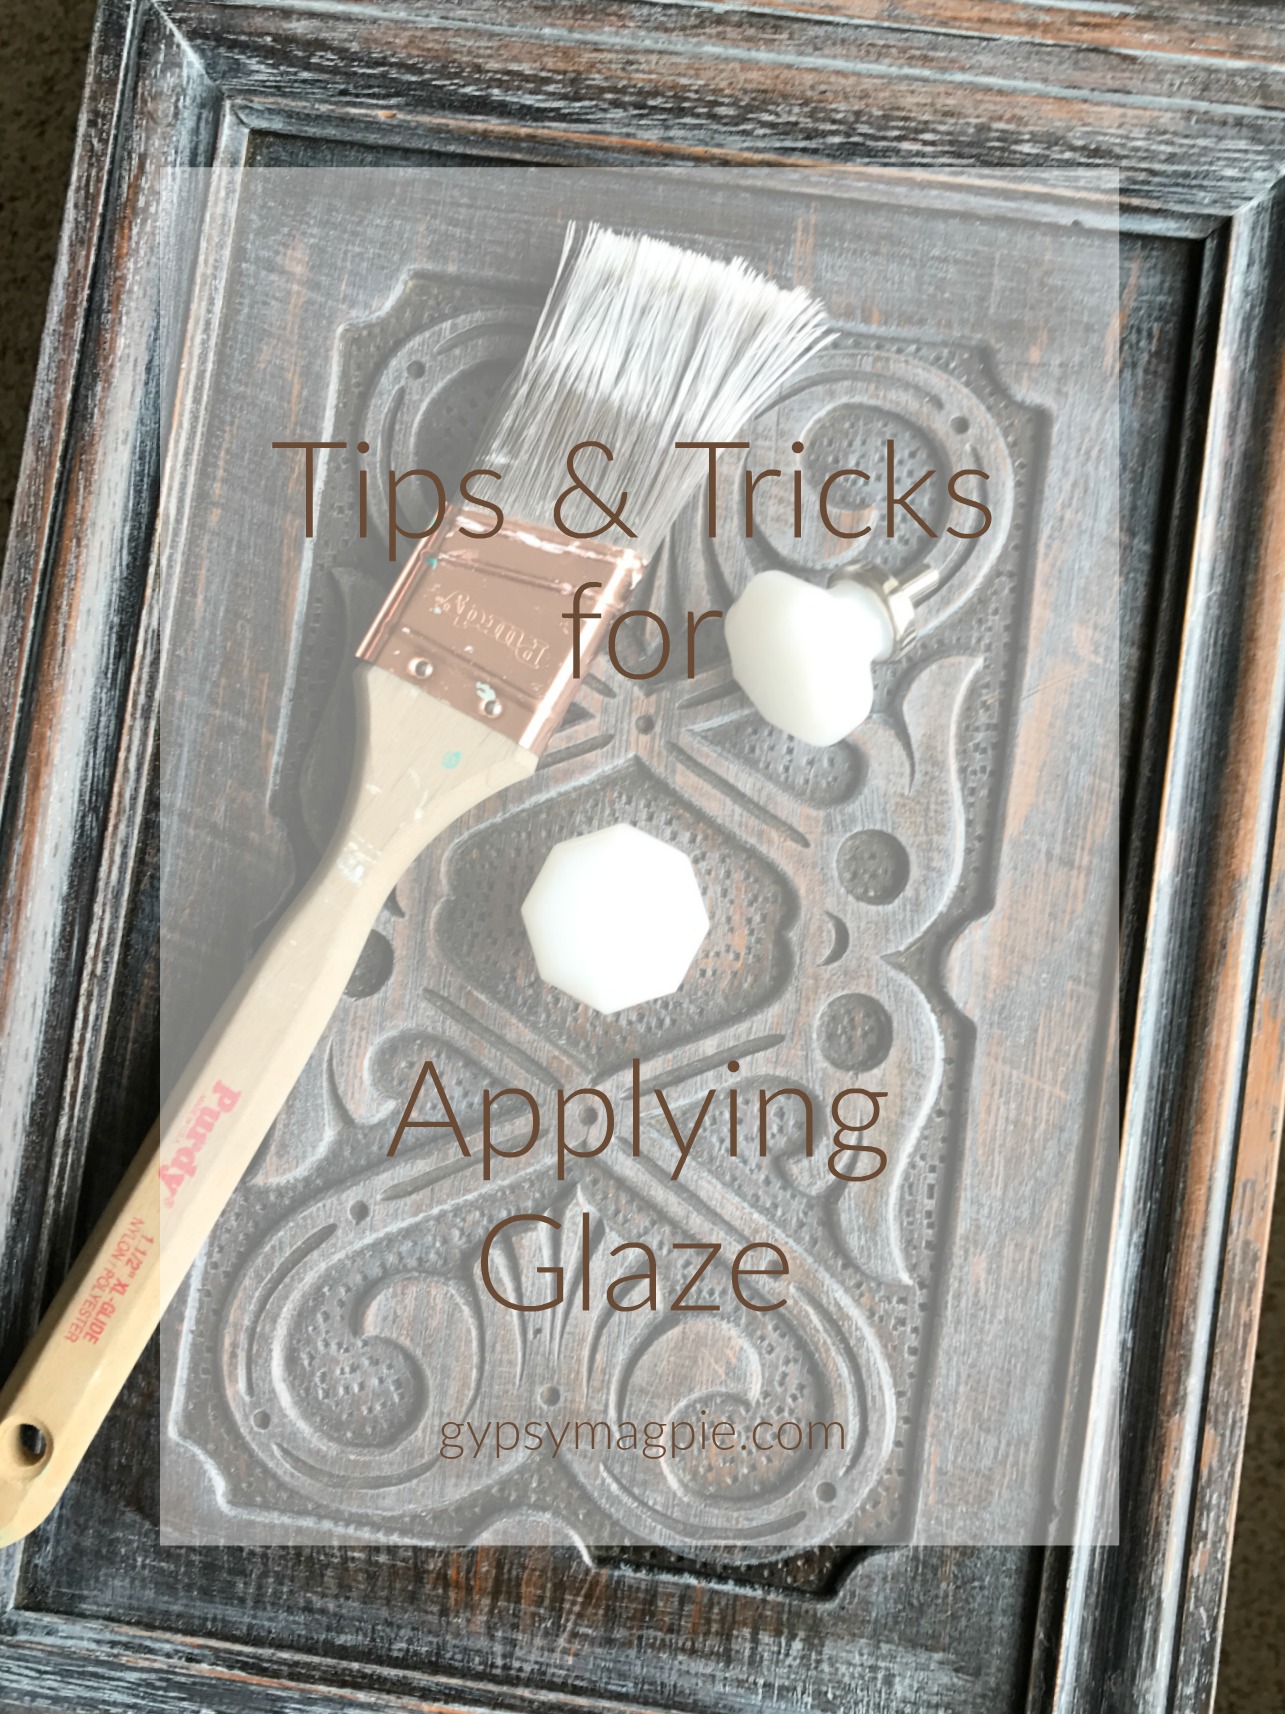
How Do You Use Glaze: Step-by-Step Guide
Alright folks let’s get practical. Here’s a step-by-step guide on how do you use glaze for your projects. Whether you're a beginner or just need a refresher these steps will help you achieve professional results every time.
Step 1: Prepare Your Surface
The first step in any glazing project is preparation. Make sure your surface is clean dry and free of any dust or debris. If you're working with wood sand it down until it’s smooth. For ceramics ensure your piece is bisque fired and ready to go. A clean surface is key to achieving a flawless finish.
Step 2: Apply Your Base Coat
Next up is the base coat. This is the foundation for your glaze so choose a color that complements your final look. For ceramics this could be an underglaze or slip. For wood a primer or base paint will do the trick. Let it dry completely before moving on to the next step.
Step 3: Mix Your Glaze
Now it’s time to mix your glaze. Follow the manufacturer’s instructions for the best results. Some glazes require dilution with water while others can be used straight out of the container. Mix thoroughly to ensure an even consistency.
Step 4: Apply the Glaze
Using a brush sponge or spray gun apply the glaze in thin even layers. Start with one coat and let it dry before adding additional layers. Remember less is more when it comes to glazing. You can always add more but it’s harder to take it away.
Step 5: Let It Cure
Once you’ve applied your final coat let the glaze cure according to the manufacturer’s recommendations. This could take anywhere from a few hours to a few days depending on the type of glaze you’re using. Patience is key here so resist the urge to rush the process.
Common Mistakes to Avoid When Using Glaze
Now that you know how do you use glaze let’s talk about some common mistakes to avoid. Glazing can be a bit tricky at first but by steering clear of these pitfalls you’ll save yourself a lot of frustration.
- Applying Too Much Glaze: Thick layers can lead to cracking and uneven results
- Not Letting Layers Dry: Rushing the process can cause smudging and blending
- Using the Wrong Glaze: Make sure you’re using the right type for your material
- Skipping Preparation: A clean surface is essential for a flawless finish
Remember practice makes perfect. If you make a mistake don’t sweat it. It’s all part of the learning process. The more you experiment the better you’ll get.
Tips and Tricks for Mastering Glazing Techniques
Here are a few tips and tricks to help you take your glazing skills to the next level. These techniques are used by professionals and can make a big difference in your results.
Tip 1: Experiment with Colors
Don’t be afraid to mix and match colors to create unique effects. Layering different hues can add depth and interest to your project. Just remember to let each layer dry before adding the next.
Tip 2: Use Different Tools
Experiment with different tools like brushes sponges and spray guns to achieve different textures. Each tool will give you a slightly different result so don’t be afraid to try new things.
Tip 3: Practice on Scrap Materials
Before diving into your main project practice on scrap materials. This will give you a chance to test out different techniques and see what works best for you.
Understanding the Science Behind Glazing
For those of you who are curious about the science behind glazing here’s a quick rundown. Glazes are essentially a mixture of minerals and compounds that fuse together when heated. This fusion creates a glass-like surface that’s both beautiful and durable. Understanding the science can help you make informed decisions about which glaze to use and how to apply it.
For example ceramic glazes contain silica alumina and fluxes which work together to create a smooth glossy finish. Wood glazes often contain resins and solvents that penetrate the wood fibers for added protection. Knowing the chemistry behind glazing can take your projects to the next level.
Where to Buy Quality Glazes
When it comes to buying glazes quality matters. Here are a few places where you can find top-notch glazes for your projects.
- Art Supply Stores: Check out local art supply stores for a wide variety of glazes
- Online Retailers: Websites like Amazon and Etsy offer a range of glazes for different materials
- Specialty Shops: Look for shops that specialize in ceramics or woodworking for expert advice
Remember to read reviews and do your research before making a purchase. Quality glazes may cost a bit more upfront but they’ll save you time and frustration in the long run.
How Do You Use Glaze in Digital Art?
Believe it or not glazing isn’t just for physical materials. It can also be applied in digital art to create stunning effects. Digital glazing involves layering transparent colors to achieve depth and dimension. Programs like Photoshop and Procreate offer tools that mimic traditional glazing techniques.
Here’s how you can use glazing in digital art:
- Create a new layer for each glaze
- Use low opacity brushes to build up color gradually
- Experiment with blending modes to achieve different effects
Just like with traditional glazing practice is key. The more you experiment the better you’ll get at creating those stunning digital effects.
Conclusion: Take Your Glazing Skills to the Next Level
So there you have it folks a comprehensive guide on how do you use glaze. Whether you're working on ceramics wood walls or even digital art glazing is a technique that can elevate your projects to new heights. Remember the key is practice patience and experimentation.
Now it’s your turn to take action. Try out some of these techniques share your results and don’t forget to leave a comment below. If you found this article helpful feel free to share it with your friends and fellow creatives. Happy glazing everyone!
Table of Contents
- What Exactly is Glazing and Why Should You Care?
- Types of Glazes: Not All Glazes Are Created Equal
- How Do You Use Glaze: Step-by-Step Guide
- Common Mistakes to Avoid When Using Glaze
- Tips and Tricks for Mastering Glazing Techniques
- Understanding the Science Behind Glazing
- Where to Buy Quality Glazes
- How Do You Use Glaze in Digital Art?

Detail Author:
- Name : Prudence Daugherty
- Username : pgrant
- Email : nwalker@walker.org
- Birthdate : 1974-06-28
- Address : 4586 Claudine Bridge Kassulkefurt, MS 50613
- Phone : 870-466-0892
- Company : Oberbrunner PLC
- Job : Marine Engineer
- Bio : Eos nobis aut nihil enim doloribus consequatur. Eum itaque qui id culpa quod. Nisi ratione fugit voluptatem voluptatem occaecati perferendis quas.
Socials
twitter:
- url : https://twitter.com/gerardo.leannon
- username : gerardo.leannon
- bio : Dolore cumque culpa asperiores. Repellat neque qui qui eos deserunt fuga cupiditate. Quisquam sed ducimus velit. Quo dolorem error fuga velit eius.
- followers : 3821
- following : 1681
facebook:
- url : https://facebook.com/gerardo3873
- username : gerardo3873
- bio : Ex ut quis harum numquam vel explicabo.
- followers : 2528
- following : 2147
