Ever wondered how to cut strawberries for mimosas like a pro? Let me tell you, it’s not just about slicing fruit. It’s an art form, my friend. Picture this: you’re hosting brunch, the champagne is chilling, and your guests are waiting for that iconic pop of flavor. But here’s the deal—strawberries can make or break your mimosa game. Cutting them right adds that extra touch of elegance and taste that’ll have everyone talking. And trust me, you want to be the talk of the brunch table.
Now, before we dive into the juicy details, let’s address the elephant in the room. Cutting strawberries might seem simple, but there’s a method to the madness. You don’t just grab a knife and start chopping away like a mad chef. Nope. There’s technique, flair, and even some science involved. Stick with me, and I’ll show you how to elevate your mimosa game to the next level.
And hey, don’t worry if you’re new to this. We’ve all been there—standing in the kitchen, staring at a pile of strawberries, wondering where to start. By the end of this guide, you’ll be slicing and dicing like a pro, leaving your friends amazed at your culinary skills. So, grab your knife, pour yourself a mimosa, and let’s get started!
- Funny Name Places In The World Discover The Weird And Wonderful
- Depressed Quotes About Friends Finding Light In The Shadows
Why Cutting Strawberries Matters for Your Mimosas
Let’s face it, mimosas are more than just orange juice and champagne. They’re an experience. And what better way to enhance that experience than with perfectly cut strawberries? But why does it matter? Well, here’s the deal:
- Visual Appeal: Let’s be honest, we eat (and drink) with our eyes first. A mimosa topped with neatly sliced strawberries looks way more inviting than one with chunky, haphazard pieces.
- Flavor Boost: Cutting strawberries properly releases their natural juices, adding a sweet, fruity kick to your drink. It’s like a little burst of sunshine in every sip.
- Ease of Consumption: Who wants to wrestle with a giant strawberry in their glass? Properly cut strawberries are easier to eat, making your guests’ brunch experience smoother and more enjoyable.
So, you see, it’s not just about cutting fruit. It’s about creating a memorable experience for you and your guests. And trust me, they’ll notice the difference.
Choosing the Right Strawberries
Before you even think about cutting, you need to choose the right strawberries. Not all strawberries are created equal, my friend. Here’s what you should look for:
- Camilla Araujo Net Worth The Rise Of A Social Media Sensation
- Thank You Quotes For Principal Heartfelt Words To Honor Their Leadership
First things first, go for strawberries that are firm and bright red. Avoid the ones that are soft or have green or white patches. Those are signs of underripe or overripe fruit, and we don’t want that in our mimosas. Also, check the stems. A fresh, green stem is a good indicator of a fresh strawberry.
And let’s talk size for a sec. For mimosas, medium-sized strawberries are usually the best. They’re easier to handle and slice evenly. But hey, if you’ve got some big ones, don’t sweat it. Just adjust your cutting technique accordingly.
Pro Tip: Taste Test
Here’s a little secret: before you start slicing, taste one of the strawberries. If it’s not sweet enough, consider adding a little sugar or honey to your mimosa mix. It’s all about balancing the flavors, and a sweet strawberry can make all the difference.
Tools You’ll Need for Cutting Strawberries
Now that you’ve got your strawberries, it’s time to talk tools. You don’t need anything fancy, but having the right tools can make all the difference. Here’s what you’ll need:
- A Sharp Knife: A sharp chef’s knife or paring knife works best. Dull knives can squish the strawberries, which is not what we want.
- A Cutting Board: A good, sturdy cutting board is essential. You don’t want to be cutting on a slippery surface.
- A Cutting Tool (Optional): If you’re feeling fancy, you can use a strawberry huller or a melon baller. These tools make quick work of removing the stem and leaves.
And that’s it! With these simple tools, you’re ready to start slicing and dicing.
How to Cut Strawberries for Mimosas: Step-by-Step Guide
Alright, let’s get to the good stuff. Here’s a step-by-step guide on how to cut strawberries for mimosas:
Step 1: Wash Your Strawberries
First things first, give your strawberries a good rinse. You don’t want any dirt or pesticides in your drink. Gently pat them dry with a paper towel to remove excess moisture.
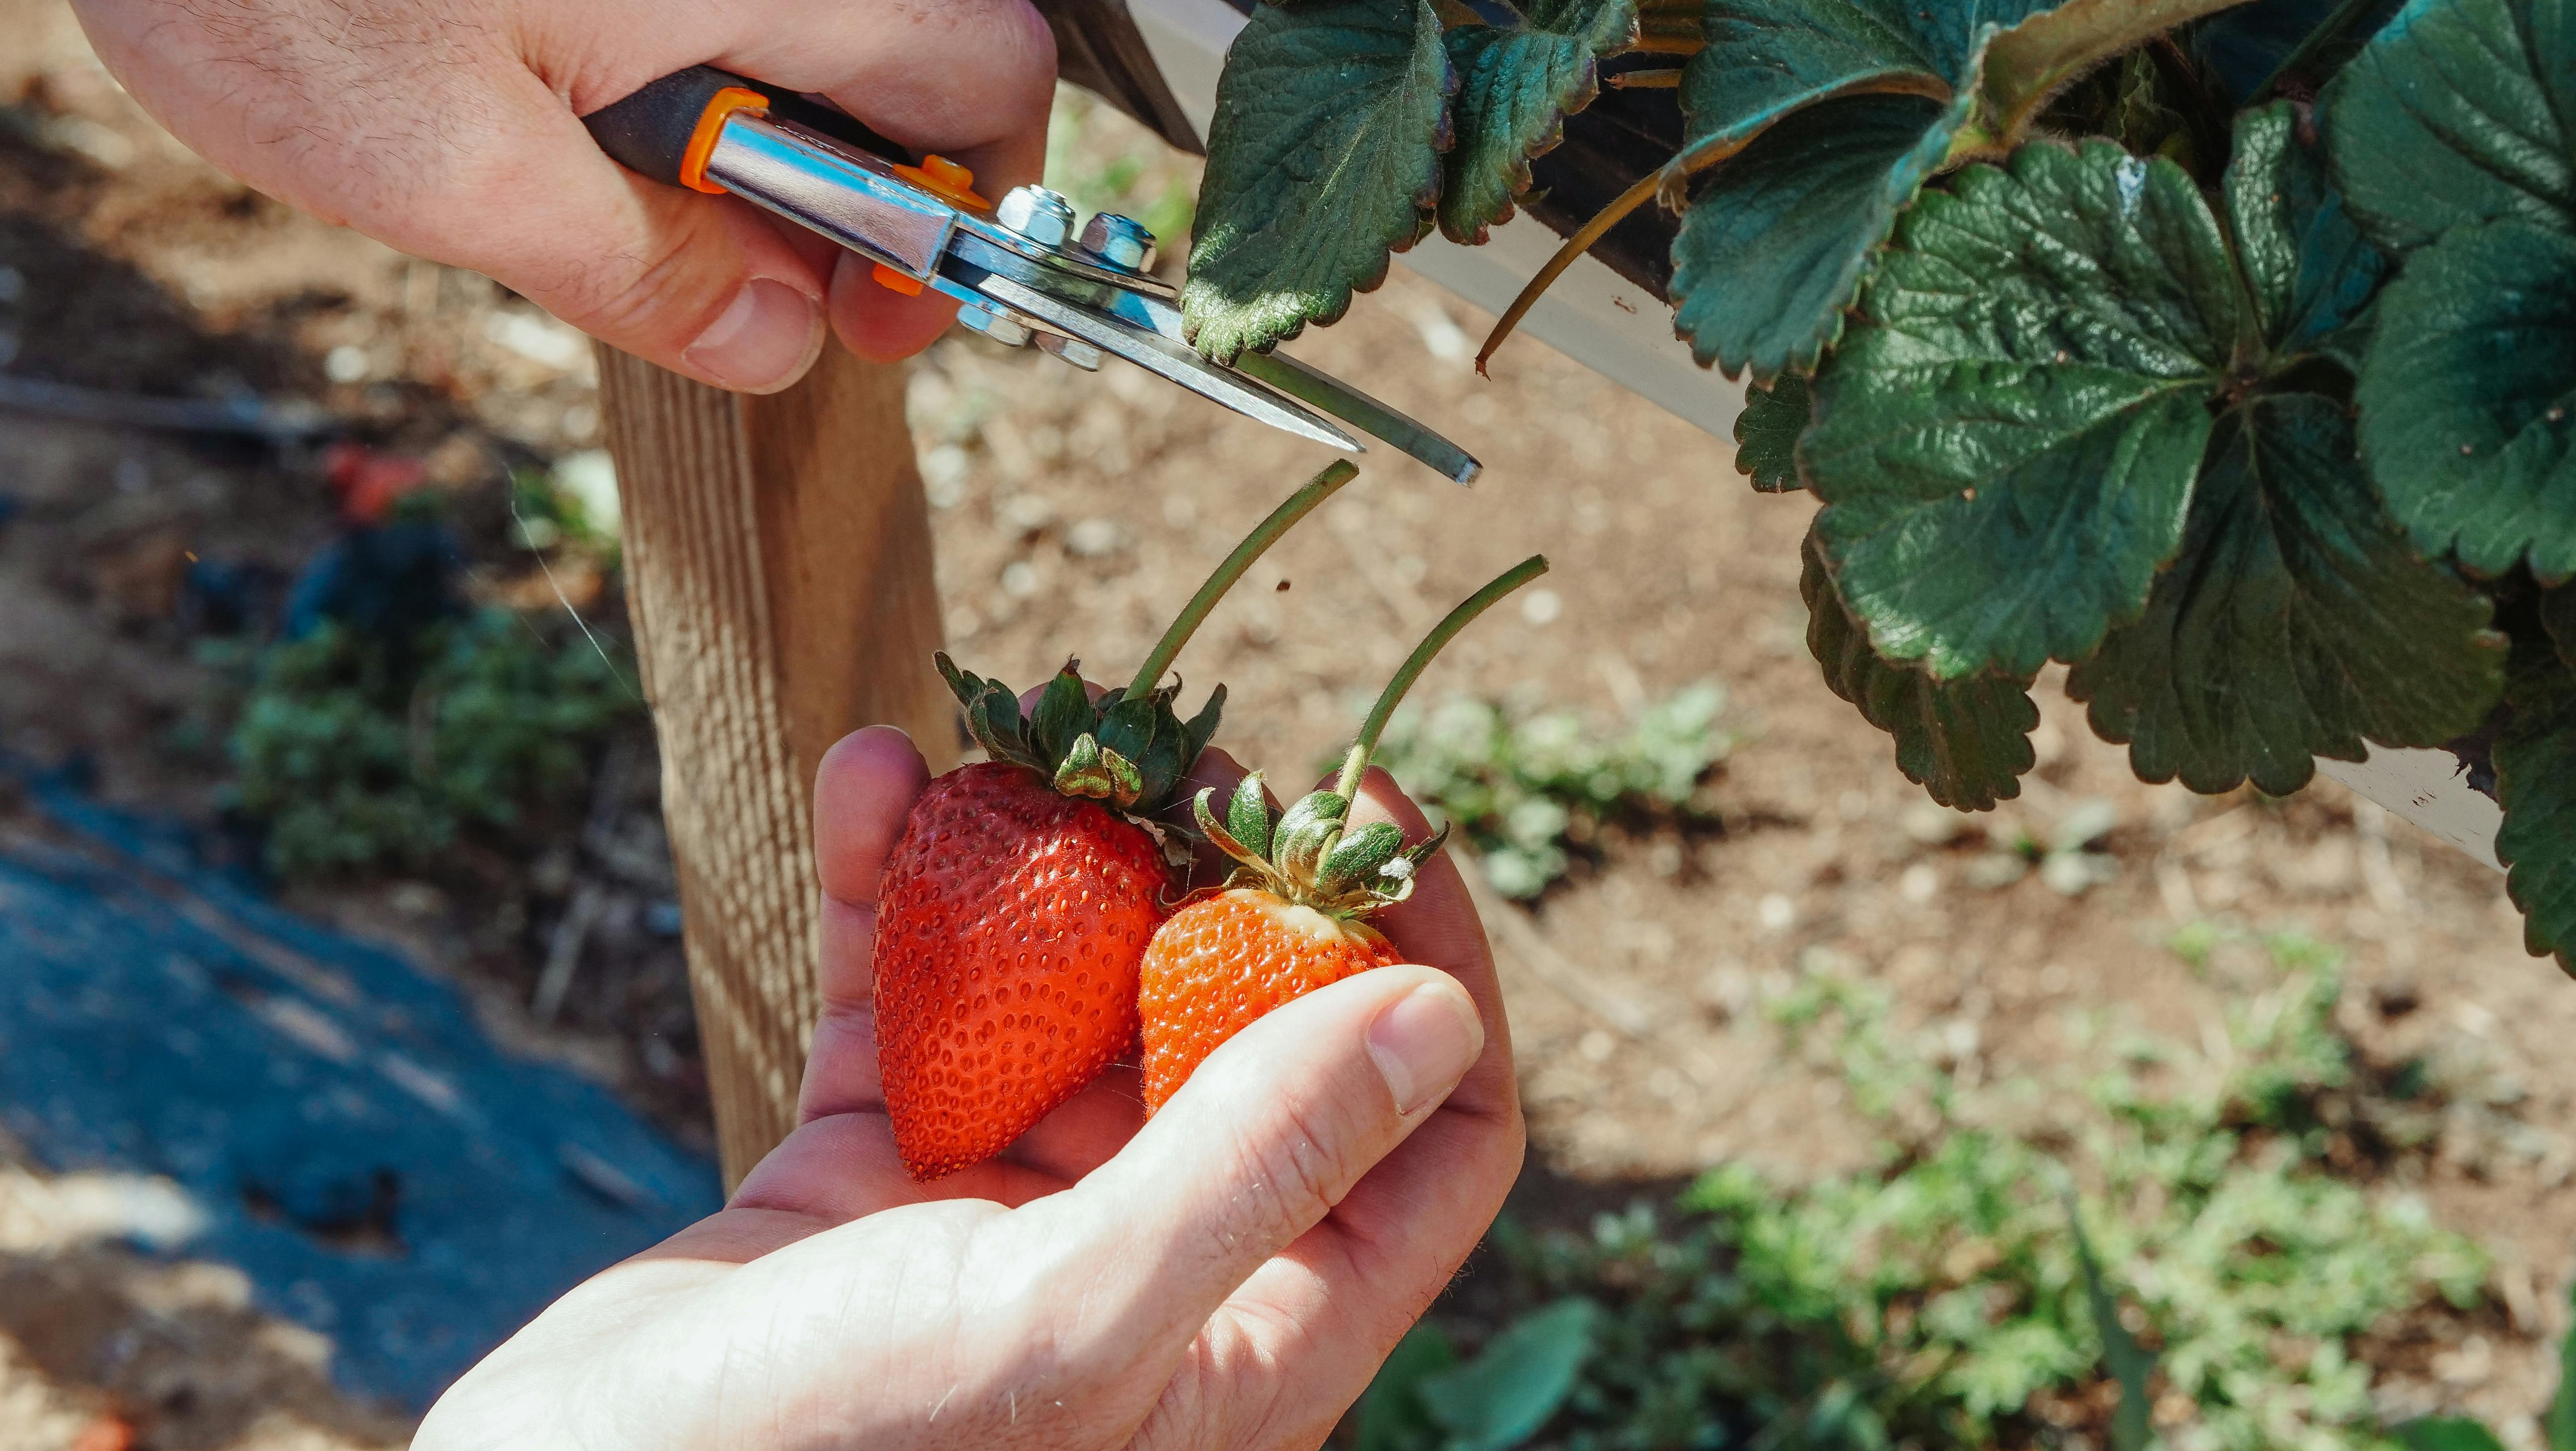
Step 2: Remove the Stems
Using your knife or a strawberry huller, remove the stems and leaves. Be careful not to cut too deep into the fruit. We want to preserve as much of the strawberry as possible.
Step 3: Slice the Strawberries
Now, here’s where the fun begins. You can slice your strawberries in a few different ways, depending on your preference:
- Thin Slices: Perfect for adding a delicate touch to your mimosas. Simply slice the strawberries vertically into thin pieces.
- Small Dices: If you want a bit more texture, dice the strawberries into small cubes. This is great for adding a chunky element to your drink.
- Rounds: For a classic look, slice the strawberries horizontally into rounds. These are perfect for garnishing the rim of the glass.
And there you have it! Your strawberries are ready to be added to your mimosas.
Common Mistakes to Avoid When Cutting Strawberries
Now that you know how to cut strawberries, let’s talk about some common mistakes to avoid:
- Over-Slicing: Don’t go too crazy with the knife. You want your strawberries to hold their shape, not turn into mush.
- Using Dull Knives: A dull knife can squish the strawberries, ruining their texture and appearance.
- Not Removing the Stems Properly: Leaving too much of the stem or cutting too deep can affect the taste and presentation of your mimosas.
By avoiding these mistakes, you’ll ensure that your strawberries are perfect every time.
Adding Strawberries to Your Mimosas
Now that your strawberries are perfectly cut, it’s time to add them to your mimosas. Here’s how you can do it:
For a simple touch, drop a few slices into your glass before pouring in the champagne and orange juice. This allows the flavors to mingle and creates a beautiful presentation. Or, if you’re feeling adventurous, muddle a few slices at the bottom of the glass for an extra burst of flavor.
Pro Tip: Layer Your Mimosas
Want to take your mimosas to the next level? Try layering them. Add a layer of orange juice, then top with champagne, and finally garnish with your perfectly cut strawberries. It’s a visual feast that your guests will love.
Delicious Variations to Try
Once you’ve mastered the art of cutting strawberries, it’s time to experiment with some delicious variations:
- Strawberry Basil Mimosas: Add a sprig of fresh basil to your mimosas for a refreshing twist.
- Honey Strawberry Mimosas: Drizzle a bit of honey into your drink for a sweet, floral flavor.
- Spicy Strawberry Mimosas: For the adventurous, add a dash of chili powder or a slice of jalapeño for a spicy kick.
The possibilities are endless, so don’t be afraid to get creative!
Expert Tips for Hosting the Perfect Brunch
Now that you’ve got the strawberry-cutting part down, let’s talk about hosting the perfect brunch:
First, plan ahead. Decide on your menu, drinks, and decorations well in advance. This will help you stay organized and stress-free on the day of the event. And don’t forget the music! A great playlist can set the mood and keep the energy high.
Also, consider setting up a mimosa bar. Let your guests customize their drinks with different juices, fruits, and spices. It’s a fun way to involve them in the experience and adds an interactive element to your brunch.
Pro Tip: Keep It Simple
Remember, it’s okay to keep things simple. You don’t need to go overboard to impress your guests. Sometimes, the simplest things make the biggest impact.
Conclusion: Elevate Your Brunch Game
And there you have it, folks! Cutting strawberries for mimosas is easier than you think. With a little practice and some creativity, you can elevate your brunch game to the next level. Remember, it’s all about presentation, flavor, and having fun.
So, next time you’re hosting brunch, don’t forget to add those perfectly cut strawberries to your mimosas. Your guests will thank you for it. And hey, if you’ve got any tips or tricks of your own, drop them in the comments below. Let’s keep the conversation going!
Call to Action: Share this article with your friends and family, and don’t forget to try out some of these delicious mimosa variations. Cheers to good times and great drinks!
Table of Contents
- Why Cutting Strawberries Matters for Your Mimosas
- Choosing the Right Strawberries
- Tools You’ll Need for Cutting Strawberries
- How to Cut Strawberries for Mimosas: Step-by-Step Guide
- Common Mistakes to Avoid When Cutting Strawberries
- Adding Strawberries to Your Mimosas
- Delicious Variations to Try
- Expert Tips for Hosting the Perfect Brunch
- Conclusion: Elevate Your Brunch Game


Detail Author:
- Name : Aisha Funk
- Username : shania08
- Email : jschoen@turner.com
- Birthdate : 1983-10-14
- Address : 514 Wiza Well Apt. 907 Bednarberg, PA 03668-8719
- Phone : 1-352-646-8491
- Company : Homenick, Bailey and Bernier
- Job : Computer
- Bio : Et pariatur nisi dignissimos dicta quis cupiditate hic. Ut est dignissimos temporibus autem atque. Ipsa impedit rerum ex inventore odit.
Socials
instagram:
- url : https://instagram.com/shamill
- username : shamill
- bio : Nulla pariatur error excepturi corporis iusto earum animi. Tempore eum iusto blanditiis iste.
- followers : 5040
- following : 2552
facebook:
- url : https://facebook.com/sylvesterhamill
- username : sylvesterhamill
- bio : Harum nihil sit ducimus nulla aut repellendus.
- followers : 1347
- following : 1780
linkedin:
- url : https://linkedin.com/in/sylvesterhamill
- username : sylvesterhamill
- bio : Velit et dolores minus dolor.
- followers : 4011
- following : 1586
