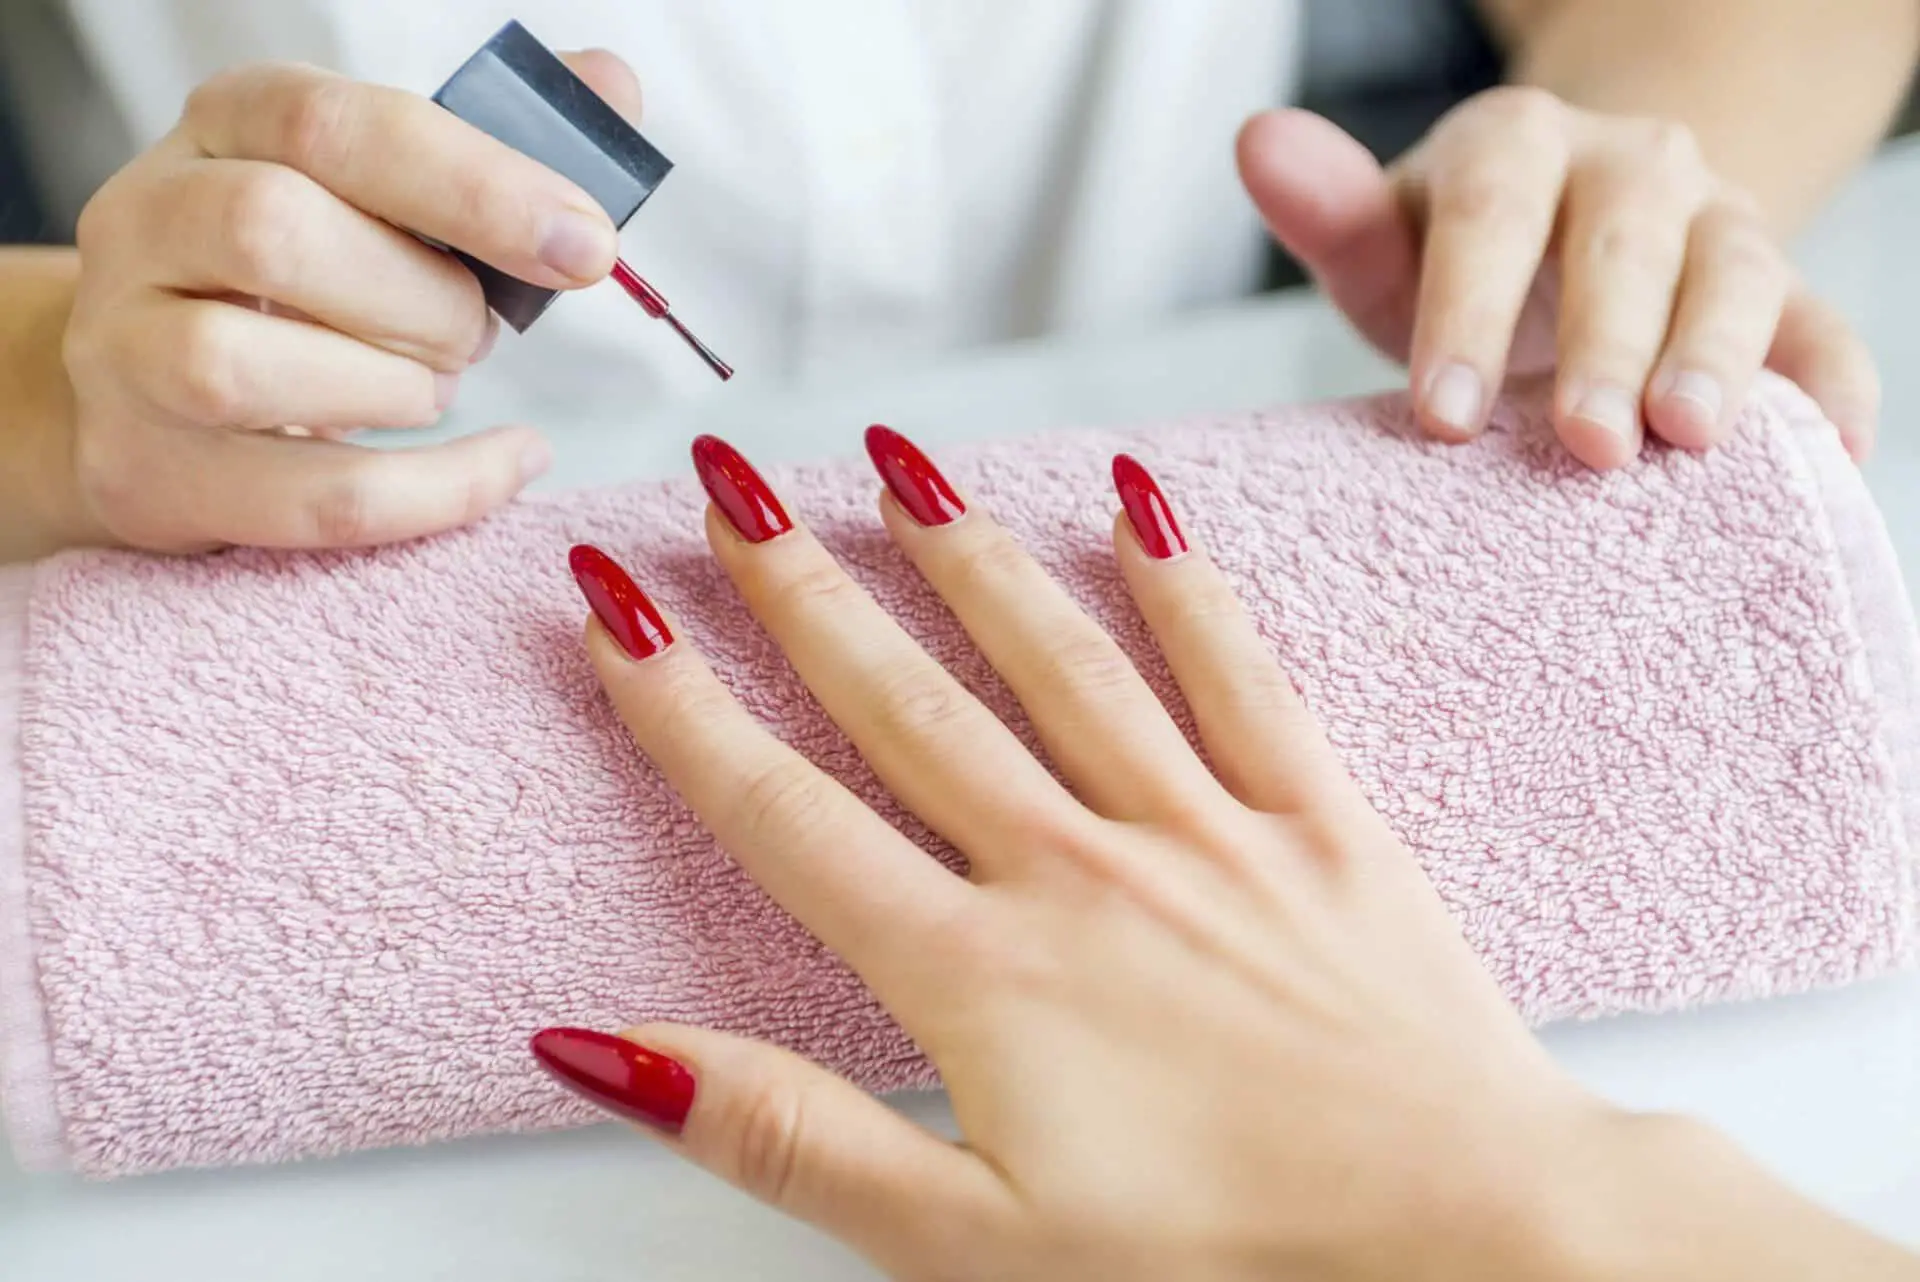
So, you're sitting there scrolling through your feed, and suddenly you see that dreaded sight—your gel polish is starting to peel off your natural nails. Ugh, right? It’s like a nightmare come true for anyone who loves their mani-pedis. But have you ever wondered why gel polish peels off in the first place? Let's dive into this sticky situation because trust me, it’s more common than you think. Whether you DIY at home or hit up a salon, understanding the reasons behind peeling can help you maintain those flawless nails longer.
Gel polish has become a staple in the beauty world, and for good reason. It lasts longer than regular polish, gives a glossy finish, and doesn't chip as easily. But when it starts peeling, it can feel like all that effort went down the drain. If you're wondering why this happens, you're not alone. This article will break it down for you, step by step, so you can avoid the frustration next time around.
From improper prep to environmental factors, there are several reasons why your gel polish might not be sticking like it should. Don’t worry—we’ve got your back. By the end of this read, you’ll know exactly what’s causing the problem and how to fix it. So grab a snack, settle in, and let’s get into it!
- Simple Star Wars Tattoos A Galaxy Of Ink For Every Fan
- Nucleus Pick Up Lines The Ultimate Guide To Sparking Conversations
Table of Contents
- What Causes Gel Polish to Peel Off?
- The Importance of Proper Nail Prep
- Choosing the Right Products
- Perfecting the Application Process
- Understanding the Curing Process
- Bad Habits That Cause Peeling
- Maintaining Your Gel Polish
- Environmental Factors to Consider
- Salon vs. At-Home Application
- Pro Tips for Long-Lasting Gel Polish
What Causes Gel Polish to Peel Off?
Alright, so let's talk about the elephant in the room—why does gel polish peel off your natural nails? There are several reasons, and they’re not always obvious. One of the main culprits is improper nail preparation. If your nails aren’t clean and dry before applying the gel polish, it’s almost guaranteed to start peeling sooner rather than later.
Another big issue is product quality. Using low-quality gel polish or base/top coats can lead to premature peeling. Plus, if you don’t cure each layer properly under the lamp, it can weaken the bond between the polish and your nails.
Common Reasons for Peeling Gel Polish
- Inadequate nail prep
- Low-quality products
- Improper curing
- Harsh chemicals
- Excessive moisture
The Importance of Proper Nail Prep
Let’s be real—if your nails aren’t prepped correctly, your gel polish isn’t gonna stick no matter how fancy the product is. Nail prep is the foundation of a successful gel polish application. Start by cleaning your nails thoroughly with an acetone-free nail polish remover. This removes any oils or residue that could interfere with adhesion.
- Heartfelt Death Quotes For Brother Celebrating Life Love And Legacy
- Crusade Prayers A Journey Through Faith History And Spirituality
Next, gently file your nails to create a smooth surface. Don’t go too crazy here; you just want to remove any ridges or bumps. After filing, wipe your nails with an alcohol pad or lint-free cloth to ensure they’re completely clean and dry. Trust me, taking these extra steps will make a world of difference.
Steps for Nail Prep
- Clean nails with acetone-free remover
- Gently file nails
- Wipe nails with alcohol
- Ensure nails are completely dry
Choosing the Right Products
When it comes to gel polish, quality matters. Investing in reputable brands may cost a bit more upfront, but it’ll save you time and frustration in the long run. Look for products specifically designed for natural nails, as some formulas are better suited for acrylics or gel overlays.
It’s also important to choose a base coat and top coat that work well together. These layers act as barriers to protect your nails and enhance the longevity of your gel polish. And hey, if you’re unsure which products to use, don’t hesitate to ask your nail tech for recommendations.
Recommended Brands for Gel Polish
- Gelish
- OPI Infinite Shine
- CND Vinylux
- SNS Dip System
Perfecting the Application Process
Now that we’ve covered prep and products, let’s talk about the application itself. Applying gel polish requires precision and patience. Start with a thin layer of base coat, making sure to cover the entire nail surface. Then, apply your chosen color in two thin layers, allowing each layer to cure fully under the lamp.
Finish with a generous layer of top coat to seal everything in place. Avoid overloading your brush with product, as this can cause streaks and uneven coverage. And remember, less is more when it comes to gel polish. Thin layers will always last longer than thick, gloppy ones.
Tips for Application
- Use thin, even layers
- Cure each layer properly
- Avoid overloading the brush
- Finish with a top coat
Understanding the Curing Process
Curing is one of the most critical steps in the gel polish process. If you don’t cure each layer long enough, the polish won’t set properly, leading to peeling and chipping. Most gel polishes require 30-60 seconds under an LED lamp, but always check the manufacturer’s instructions for specific timing.
Also, don’t forget to cure your top coat! This final step locks everything in place and gives your nails that glossy finish. Skipping it can compromise the overall durability of your manicure. So yeah, patience is key here—don’t rush the process!
Factors Affecting Curing
- Lamp type (LED vs. UV)
- Product formulation
- Curing time
- Environmental conditions
Bad Habits That Cause Peeling
We all have our little quirks, but some habits can seriously impact the lifespan of your gel polish. For instance, biting your nails or picking at the edges can cause the polish to lift prematurely. Even something as simple as washing dishes without gloves can weaken the bond between the polish and your nails.
Other bad habits include exposing your nails to harsh chemicals like cleaning products or using improper removal methods. Always use a dedicated gel polish remover and follow the instructions carefully to avoid damaging your nails.
Habits to Avoid
- Nail biting
- Picking at polish
- Exposure to harsh chemicals
- Improper removal methods
Maintaining Your Gel Polish
Maintaining your gel polish is just as important as the initial application. Regular upkeep can help prevent peeling and keep your nails looking fresh. One tip is to use a hand cream that doesn’t contain heavy oils, as these can break down the polish over time.
Additionally, consider getting touch-ups every two weeks to refresh your manicure. And if you notice any chips or cracks, address them immediately to prevent further damage. A little maintenance goes a long way in extending the life of your gel polish.
Maintenance Tips
- Use non-oily hand cream
- Get regular touch-ups
- Address chips promptly
- Wear gloves for cleaning
Environmental Factors to Consider
Believe it or not, your environment can play a role in how long your gel polish lasts. Extreme temperatures, humidity, and even sunlight can affect the integrity of your manicure. For example, high humidity can cause moisture to seep under the polish, leading to peeling.
On the flip side, dry climates can cause your nails to become brittle, which can also contribute to peeling. To combat these issues, try to maintain a consistent environment and use moisturizers to keep your nails hydrated.
Environmental Influences
- Humidity levels
- Temperature fluctuations
- UV exposure
- Air quality
Salon vs. At-Home Application
Should you go to a salon or do it yourself at home? That’s a question many people struggle with. Salons offer professional-grade equipment and expertise, which can result in a longer-lasting manicure. However, DIY-ing it at home can save you money and give you more control over the process.
No matter which route you choose, the key is consistency. Whether you’re at a salon or in your living room, following the proper steps and using quality products will yield the best results. Just remember, practice makes perfect!
Pro Tips for Long-Lasting Gel Polish
Ready to take your gel polish game to the next level? Here are a few pro tips to ensure your manicure lasts as long as possible:
- Always start with clean, dry nails
- Use high-quality products
- Cure each layer properly
- Avoid bad habits like nail biting
- Maintain your nails with regular care
Final Thoughts
Peeling gel polish can be frustrating, but armed with the right knowledge, you can minimize the risk and enjoy flawless nails for weeks. By focusing on proper prep, quality products, and consistent maintenance, you’ll be well on your way to achieving the perfect manicure.
So, what are you waiting for? Grab your favorite shade and get to work! And don’t forget to share your tips and tricks in the comments below. We’d love to hear how you keep your gel polish looking fresh and fabulous.

![Why Does Gel Nail Polish Peel Off? [Causes & Fixes!] Almond Nails](https://www.almondnails.com/wp-content/uploads/2023/03/1679389913-scaled.jpg)
Detail Author:
- Name : Dahlia Kohler
- Username : kellie.grady
- Email : schmidt.lizeth@kirlin.biz
- Birthdate : 1987-08-07
- Address : 30513 Ortiz Islands New Davinbury, NC 19005
- Phone : 806.401.0737
- Company : Terry, Kirlin and Fisher
- Job : Commercial Diver
- Bio : Quisquam ut quae cumque. Eaque inventore eos et nihil sapiente. Quisquam assumenda sit asperiores eos.
Socials
tiktok:
- url : https://tiktok.com/@alice.ondricka
- username : alice.ondricka
- bio : Non illum voluptas reprehenderit aperiam.
- followers : 6418
- following : 2999
facebook:
- url : https://facebook.com/alice_real
- username : alice_real
- bio : Non deserunt voluptatem quibusdam corporis ratione.
- followers : 439
- following : 23
